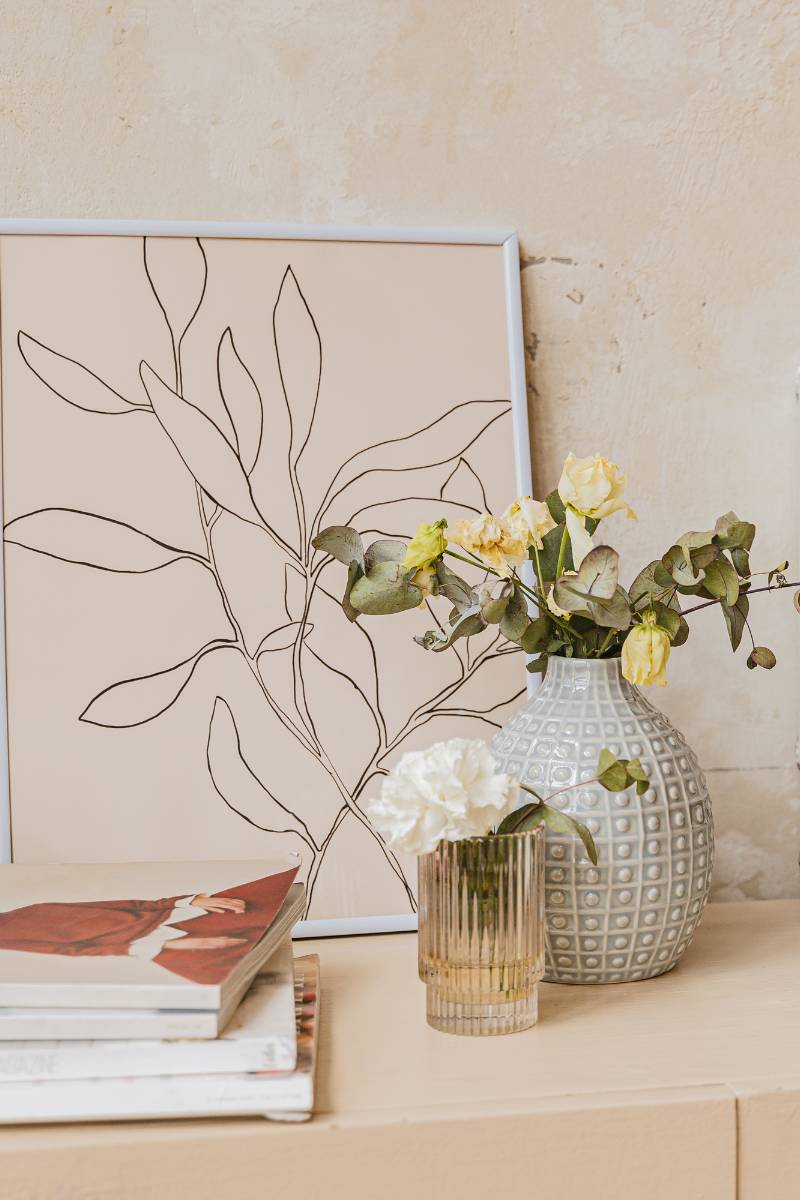
Hang Your Picture Frames Just Like A Professional
Blank wall. Blank wall, blank wall, blank wall…
You’ve gotta start somewhere, right? Whether it’s with family photos, art work, or both – hanging frames can sometimes be a daunting task.
Do you create a gallery? Do you go for one large piece? How close to you hang the frames? These are the kinds of questions people ask themselves before putting up frames – which often leads to, you got it, a blank wall.
Here’s where we put our fear of hanging stuff up aside. You got this.
What You Will Need:
- Your picture frames
- Kraft Paper
- Scissors
- Pencil
- Level
- Measuring tape
- Nails
- Hammer
- Plugs/Wall hooks
10 Steps To Choosing & Hanging Picture Frames:
- Think of the look and feeling you want for your space: family memories, inspiration, classic look, neutral/black and white, modern…etc.
- Identify how many frames you would like: will it be a small gallery (4-5 pictures), large gallery (8-10 pictures), one large frame or artwork, or maybe two complementary pieces side by side. Look at your space and measure the size of where the frames will go to help you decide.
- Make a list of the items before you buy/print: list the specific photographs you want to print and/or the artwork you want to shop for and their size.
- example: 2 family landscape (8×10, 4 x6), 1 family portrait (11×13), 2 abstract artworks with colours that compliment family photos (5×7 landscape, 5×7 portrait)
- example: 2 family landscape (8×10, 4 x6), 1 family portrait (11×13), 2 abstract artworks with colours that compliment family photos (5×7 landscape, 5×7 portrait)
- Decide what colour you would like and make a list of sizes/quantities: do you want them all to match for a clean, modern look or do you like the presentation of different colours/styles of frames.
- Purchase prints, photos, artwork and frames: now that you have them all, put the prints into the frames. Use washi tape or paint tape to secure the print to the mat (if there is one, so that it remains even.
- Trace the frames on kraft paper and cut out mockup frames: with these you’ll be able to find the perfect placement for your frames, without banging nails into the wall.
- Use the mockups to form your gallery: use a measuring tape to make sure the mockup frames are equally spaced and positioned as you want them. Pro tip: aim for the centre of your gallery or picture to be eye level.
- Check the back of your frames: what sort of installation is required? If it’s already wired and one centre nail will do, you need to measure the distance between the top of the frame to where the nail would hang. (example: hold the frame with your finger in the middle of the wire (it forms a baseless triangle) and measure the distance from your finger to the top, take note and mark the mockup with that distance). You may need to prepare your frames yourself using wire and wall hooks.
- Repeat measuring for all the frames, hammer all your nails in the paper mockups: if you are using very heavy frames or artwork, it’s important to use nails and plugs that will hold them up securely.
- Remove mockups, hang up your frames and celebrate your success.
You did it. Now that your wall is no longer blank, go ahead and sit back and enjoy the view!
Do you have any tips for hanging artwork or pictures? Share them in the comments.
Shop For Picture Frames
[show_lookbook_widget id=”299183″]
- Purdys Chocolate Picks Worth Adding to Your Easter Basket - April 17, 2025
- How to Boost Dopamine Naturally This Spring (By Time & Energy Level) - April 14, 2025
- 7 Canadian Home Brands That Combine Style & Quality - April 11, 2025


